

Step 2 - Creating a table
You first must create a blank database. Make sure you give it a sensible name otherwise you may loose it. Click here to see how to create a new database.
 |
Saving the database on a memory stick may be a good idea as the network sometimes cauases problems. Do not forget to back up the database though! |
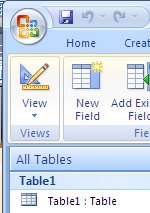 |
You will be greeted with the datasheet view of the database. This allows you to add data to your database. Before we can do this we must create the structure. To do this you need to click on design view. Design view (the icon on the left) allows you to add, remove and edit fields. You must add fields as specified by the field file you downloaded. You must use the same names and put them in the exact same order. Click here to see a video on how to add fields. |
|
Remember to take a screenshots of all of your fields once you are done. Then crop and comment. |
You must set the size of fields. You must decide on the biggest possible value which could realisticly be put into the database (work the value out by counting the number of letters).
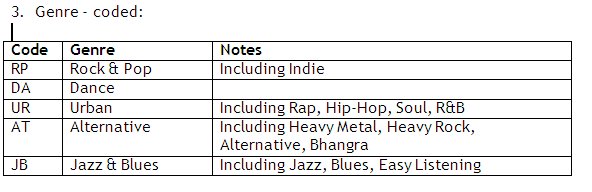
Consider the table above (taken from the example field file). This is the filed genre which is coded. It will only ever have two letters in it. RP, DA, UR, AT and JB. As such we will only need to set the field size to be 2.
When you take screen shots you should crop and annotate the image. See the example screen shot to see how to lay things out. If you do not crop and re-size your screenshots then they will not be visible to the moderator.